Why Most Ideas Never Become Prototypes
The journey from concept to prototype fails for predictable reasons:
Analysis Paralysis
Failure pattern: Teams spend months analyzing, researching, and planning without building anything tangible. Requirements documents grow to hundreds of pages. Technical approaches are debated endlessly. Market analysis consumes weeks. But no prototype emerges.
When prototyping finally begins, assumptions prove wrong, requirements need revision, and months of planning become obsolete. Teams discover that they could have learned the same lessons in weeks through rapid prototyping instead of months through analysis.
Root cause: Conflating prototyping with production development. Prototypes should be quick, imperfect, and disposable—tools for learning, not final products. Organizations treating prototypes as production quality delay indefinitely while perfecting designs that haven't been validated.
Resource Constraints
Failure pattern: Ideas require capabilities the team lacks—specialized electronics, advanced materials, precision manufacturing, embedded software, industrial design. Without access to these capabilities, concepts remain concepts.
Small startups can't afford comprehensive in-house expertise. Even large companies have capability gaps. Ideas die not because they're bad but because required capabilities are unavailable or prohibitively expensive.
Root cause: Assuming prototyping requires the same resources as production. Actually, prototyping leverages alternative approaches: development boards instead of custom PCBs, 3D printing instead of injection molding, off-the-shelf components instead of custom parts. With creative thinking, most concepts can be prototyped affordably even with limited resources.
Perfectionism
Failure pattern: First prototypes attempt to incorporate every feature and meet all requirements simultaneously. Complexity overwhelms the team. Integration challenges multiply. Debugging becomes impossible. The prototype never works well enough to provide useful feedback.
Root cause: Misunderstanding prototype purpose. Early prototypes should test critical assumptions and validate key technical challenges, not demonstrate complete functionality. A prototype that partially works but provides clear learning is successful. A "complete" prototype that never works is failure.
Technical Overconfidence
Failure pattern: Teams begin building without adequate investigation of technical feasibility. Halfway through prototype development, they discover fundamental obstacles: components don't exist with required specifications, physics prevents desired behavior, cost projections were wildly optimistic, manufacturing isn't possible with available processes.
Root cause: Insufficient feasibility assessment before committing to prototype development. Some concepts require fundamental research before prototyping makes sense. Others need market validation before technical investment. Jumping directly to prototyping without validating key assumptions wastes resources and time.
The Prototyping Framework: From Concept to Working Proof
Successful prototyping follows structured approaches that maximize learning while minimizing time and cost:
Phase 1: Concept Validation and Feasibility
Before building anything, validate that the concept merits prototyping investment:
Define the Core Value Proposition
What problem does this solve? Be specific. "Helps people be healthier" is vague. "Enables diabetics to monitor glucose continuously without finger pricks" is specific and testable.
Why can't existing solutions solve this adequately? If good solutions exist, your product must be meaningfully better on dimensions users care about: cheaper, faster, easier, more accurate, more convenient. Marginal improvements rarely justify new products.
Who experiences this problem intensely enough to pay for solutions? Problems everyone experiences mildly often generate less willingness to pay than problems that smaller groups experience intensely.
Identify Critical Assumptions
Every product concept rests on assumptions that might be wrong:
Technical assumptions: "Sensors exist that can measure this accurately" or "We can process data fast enough with available processors" or "Battery technology enables the runtime we need."
User assumptions: "People will change their behavior to use this" or "Users can operate this without training" or "The problem occurs frequently enough to justify a solution."
Economic assumptions: "We can manufacture this at target price" or "Market size supports development investment" or "Distribution channels will carry this product."
Regulatory assumptions: "Regulatory approval is achievable" or "Certification costs are manageable" or "Compliance requirements don't prevent our approach."
List these assumptions explicitly. Prototyping should test the most critical and uncertain assumptions first.
Conduct Quick Feasibility Assessment
Before building comprehensive prototypes, validate key technical elements:
Component research identifies whether required sensors, processors, displays, batteries, materials exist with needed specifications and are available at acceptable costs.
Physics validation uses back-of-envelope calculations and simulations confirming that your approach doesn't violate fundamental constraints: you can't capture more solar energy than falls on your panel, you can't transmit more data than bandwidth permits, you can't achieve infinite battery life.
Technology survey identifies existing technologies, patents, and prior art. Understanding what's been tried prevents reinventing wheels or repeating others' failures.
Expert consultation with specialists in relevant domains (RF engineers for wireless products, materials scientists for novel materials, clinicians for medical devices) identifies potential obstacles early.
This feasibility work typically takes days to weeks, costs relatively little, and prevents expensive prototyping of fundamentally infeasible concepts.
Phase 2: Proof-of-Concept Prototyping
With validated feasibility, build targeted prototypes testing critical assumptions:
Focus on Core Technical Challenges
Proof-of-concept (POC) prototypes should be narrow and deep rather than broad and shallow:
Test the hardest problems first. If your product requires a sensor achieving specific accuracy, build a quick prototype focused solely on validating sensor performance. If power consumption is critical, breadboard a system measuring actual power draw. If a novel algorithm enables functionality, implement and test the algorithm.
Ignore aesthetics, ergonomics, and manufacturability. POC prototypes can be ugly, fragile, and impossible to manufacture. They're learning tools, not products.
Use development tools and off-the-shelf components. Arduino boards, Raspberry Pis, development kits from sensor manufacturers—these enable quick testing without custom engineering. Buy existing components instead of designing custom parts. Use breadboards instead of PCBs.
Instrument heavily for learning. Add test points, logging, debugging outputs. You're trying to understand behavior, which requires visibility.
Accept Imperfection and Speed
Target days or weeks, not months. POC prototypes should come together quickly. If they take longer, you're probably trying to do too much.
Embrace duct tape and zip ties. Structure can be cardboard, foam core, or 3D prints. Connections can be alligator clips or soldered wires. You're testing concepts, not demonstrating craftsmanship.
Document as you go. Take photos, record measurements, note observations. POC prototypes often get discarded, but learnings should persist.
Test, Measure, Learn
Define success criteria before testing. What measurements would prove feasibility? What results would indicate the approach won't work?
Test systematically. Vary one parameter at a time. Record conditions and results. Repeat measurements to assess variability.
Seek failure modes. Don't just confirm the prototype works under ideal conditions—find the boundaries where it fails. Understanding limitations is as valuable as validating capabilities.
Be honest about results. Negative results are valuable data, not failures. They guide pivots, reveal necessary improvements, or indicate that concepts should be abandoned before additional investment.
Phase 3: Functional Prototyping
With POC validation complete, build prototypes demonstrating integrated functionality:
System Integration
Functional prototypes combine subsystems into complete (if rough) products:
Custom PCBs replace breadboards and development boards. This step up in sophistication enables more realistic testing of size, power consumption, and electromagnetic compatibility.
Mechanical structures house electronics and provide user interface elements. Initial enclosures might be 3D printed or machined from raw materials rather than molded plastics, but they should approximate final form factors.
Firmware implementation moves beyond proof-of-concept code to more robust software handling edge cases, implementing complete feature sets, and managing power.
User interface development creates actual controls (buttons, displays, feedback mechanisms) enabling interaction with the device.
Design for Testability
Functional prototypes should enable comprehensive testing:
Test points and debug interfaces provide access to internal signals and allow firmware debugging.
Modular architecture enables testing and replacing subsystems independently.
Instrumentation capabilities log operational data for analysis.
Iterative Refinement
Functional prototypes typically go through multiple iterations:
First functional prototype integrates subsystems and validates basic operation. It almost certainly has issues: bugs in firmware, noise in electronics, mechanical interferences, thermal problems, power consumption higher than calculated.
Refined iterations address discovered issues through systematic debugging and improvement. Each iteration should have specific goals: "Fix the noise issues in analog circuits" or "Reduce sleep mode power consumption to target levels" or "Improve mechanical fit and finish."
User testing with functional prototypes provides feedback on usability, missing features, and real-world performance that paper designs and POC prototypes can't reveal.
Phase 4: Engineering Prototypes
Final prototype iterations transition toward production readiness:
Production-Like Construction
Engineering prototypes use processes and materials approaching production:
PCB fabrication uses production board houses rather than prototyping services.
Mechanical parts use production materials and approximate production processes—injection molded parts when feasible, otherwise machined from production-grade materials.
Assembly processes approximate production assembly rather than one-off hand-building.
Component selection prioritizes availability, cost, and manufacturability over prototyping convenience.
Comprehensive Testing
Engineering prototypes undergo testing regimes validating product readiness:
Performance testing confirms all specifications are met across operating ranges.
Environmental testing subjects devices to temperature extremes, humidity, vibration, shock—conditions they'll encounter during shipping, storage, or use.
Reliability testing through accelerated life testing, repeated operation cycles, and extended runtime validates durability.
User testing in realistic environments with representative users provides final validation of usability and functionality.
Manufacturing Preparation
Engineering prototypes inform manufacturing planning:
Design for Manufacturing (DFM) reviews identify aspects of design that complicate manufacturing.
Assembly studies time how long various operations require and identify bottlenecks or particularly difficult steps.
Cost validation measures actual component costs, manufacturing labor, testing time, and yield rather than relying on estimates.
Manufacturing documentation gets developed: assembly work instructions, test procedures, quality criteria, packaging specifications.
Prototyping Technologies and Tools
Different prototyping approaches serve different needs:
Electronics Prototyping
Development boards (Arduino, Raspberry Pi, STM32 Discovery, etc.) enable quick electronics prototyping without custom PCBs. They're perfect for POC and early functional prototypes but inappropriate for testing size, power consumption, or electromagnetic performance.
Breadboards and protoboards allow quick circuit construction and easy modifications during POC phases.
Custom PCBs become necessary for realistic testing. Modern PCB fabrication services deliver small quantities quickly and affordably. Even hand-assembled PCBs provide vastly more realistic testing than breadboards.
Component selection for prototypes balances availability (can you actually buy these?) against similarity to eventual production components. Sometimes prototype-friendly components get replaced with production-optimal alternatives later.
Mechanical Prototyping
3D printing revolutionized mechanical prototyping by enabling complex geometries, rapid iteration, and low unit costs. Various technologies (FDM, SLA, SLS) offer different trade-offs in resolution, materials, strength, and cost.
Limitations include:
- Material properties differ from injection molded plastics or machined metals
- Surface finishes are often rough
- Part strength and durability may not represent production
- Some geometries print poorly
CNC machining creates parts from production materials (metals, engineering plastics) with production-like properties and finishes. More expensive and slower than 3D printing but produces more representative parts.
Molding and casting using silicone molds enables small-batch production of parts approaching production quality. Useful when testing requires multiple identical parts or production-like material properties.
Firmware and Software Development
Integrated Development Environments (IDEs) like PlatformIO, STM32CubeIDE, Arduino IDE provide tools for embedded software development, debugging, and deployment.
Simulators and emulators enable testing firmware before hardware is available or alongside hardware for scenarios difficult to create physically.
Debugging tools (JTAG/SWD debuggers, logic analyzers, oscilloscopes) make embedded development tractable by providing visibility into system operation.
Version control (Git) and issue tracking maintain development discipline even during rapid prototyping.
Common Prototyping Pitfalls
Skipping Feasibility Validation
Jumping into prototyping without validating key technical assumptions leads to discovering fundamental obstacles after significant investment. Spending days on feasibility research prevents wasting weeks or months on infeasible prototypes.
Overbuilding Early Prototypes
POC prototypes don't need beautiful enclosures, professional PCBs, or comprehensive feature sets. They need to test critical assumptions quickly. Adding unnecessary sophistication slows learning without adding value.
Underbuilding Late Prototypes
Engineering prototypes that don't use production-like processes and materials provide false confidence. What works in hand-built prototypes may fail in production. Late prototypes should be as production-representative as possible.
Inadequate Documentation
Prototype development generates valuable learning that must be captured. What worked? What didn't? What were measurements? What configurations were tested? Without documentation, knowledge disappears when prototypes are discarded or when team members change.
Premature Optimization
Optimizing code performance, reducing component costs, or refining mechanical designs before validating core functionality wastes effort. Optimize after confirming the approach works, not before.
Ignoring Manufacturing Implications
Designs that work as one-offs might not scale to production. Late-stage prototypes should involve manufacturing expertise identifying potential production challenges while design changes are still feasible.
Case Studies: Dysol's Prototyping Experience
Solar Tracker Development
Dysol engineered a precision sun-tracking system for maximum solar energy capture:
POC validation focused on tracking accuracy and mechanical stability. Simple prototypes using servos and aluminum framing tested whether positioning algorithms could achieve required accuracy.
Functional prototypes integrated solar panels, battery charging, power management, and wireless connectivity. These revealed power consumption challenges requiring firmware optimization and electronic design refinement.
Engineering prototypes used production materials and processes, validating durability under outdoor conditions (UV exposure, temperature extremes, wind loading) and confirming cost targets.
Each iteration had clear goals, tested specific aspects, and informed next steps. The disciplined prototyping process took a challenging concept to validated product efficiently.
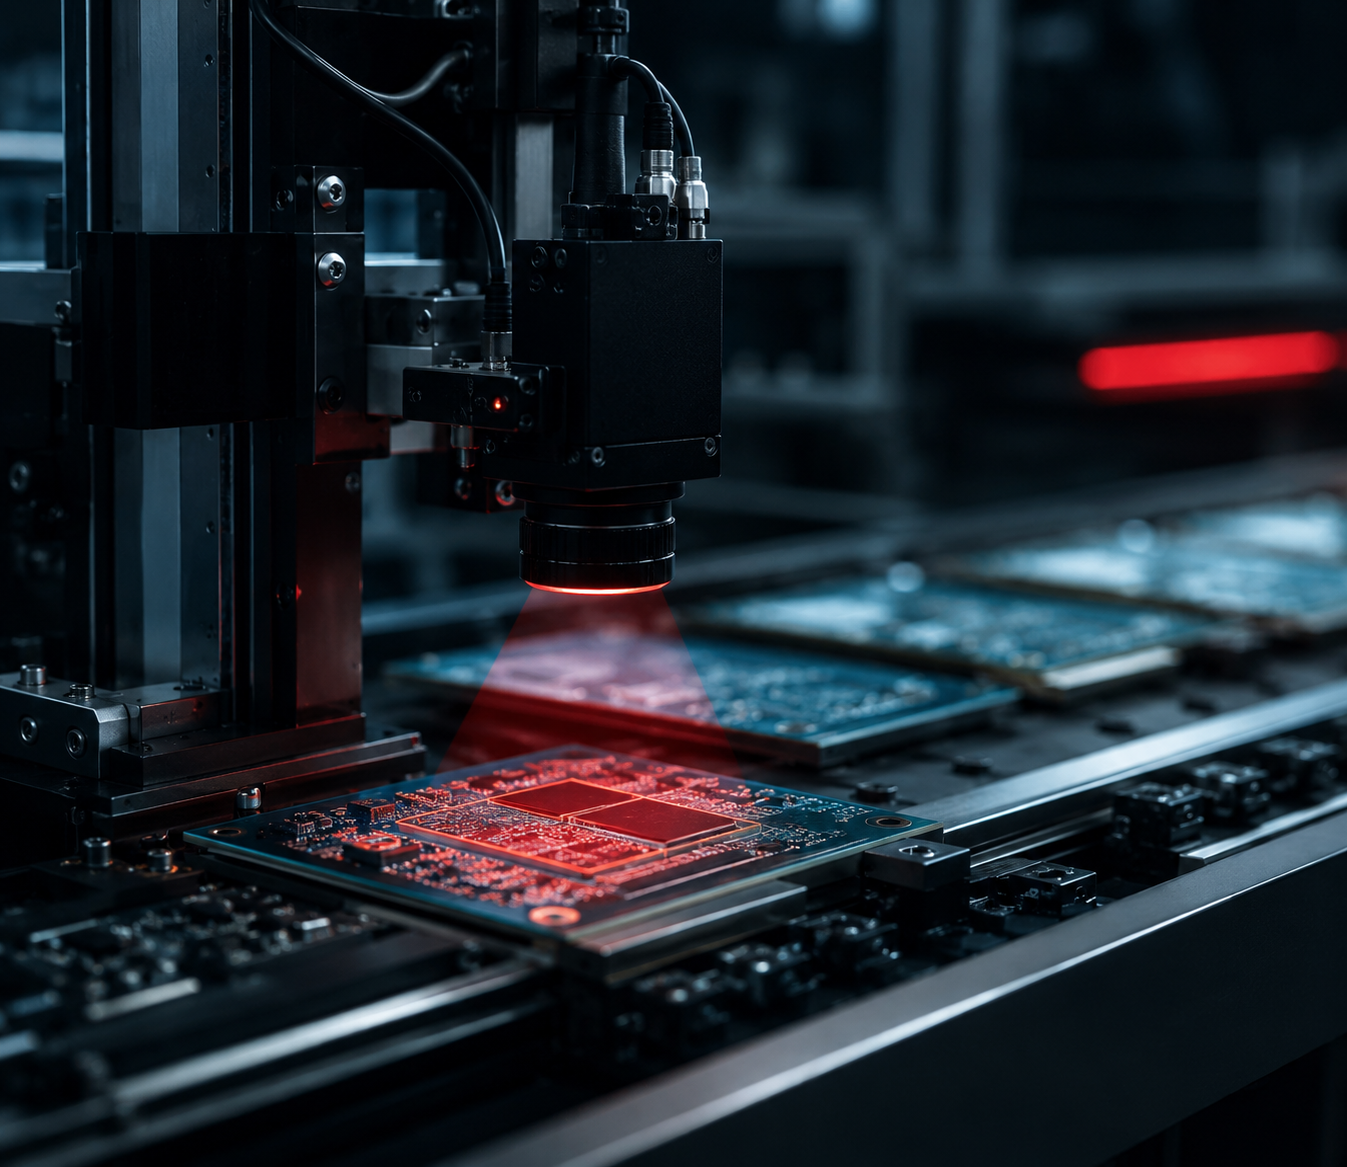
Iris Recognition Device Development
The iris recognition device for AI security applications required optical precision and sophisticated image processing:
Feasibility prototypes tested illumination approaches and camera configurations. These revealed that achieving required image quality needed specialized lenses and precisely controlled lighting.
Functional prototypes integrated optics, image capture, processing, and communication. Early versions had acceptable image quality but excessive size. Iterative refinement reduced form factor while maintaining performance.
Engineering prototypes validated manufacturing processes, confirmed performance under realistic use conditions, and provided devices for customer evaluation.
The product exceeded market standards because rigorous prototyping validated approaches before production commitment.
AI Baby Rocker ("Pobbi")
This consumer product combined mechanical motion, sensing, and AI-driven adaptation:
POC prototypes validated that mechanical rocking could be controlled with required precision and that sensors could detect baby state reliably.
Functional prototypes integrated complete systems including rocking mechanisms, sensors, AI algorithms, user interfaces, and connectivity. User testing with parents revealed feature refinements and usability improvements.
Engineering prototypes used production materials, validated safety under all use conditions, and enabled certification testing.
Successful prototyping transformed a concept into a product ready for manufacturing and market launch.
Accelerating Prototyping Through Partnership
Many organizations lack comprehensive prototyping capabilities in-house. Development boards and 3D printers enable basic prototyping, but sophisticated products require:
- Custom PCB design and assembly
- Advanced mechanical design and fabrication
- Embedded firmware expertise
- Access to specialized testing equipment
- Manufacturing relationships for production-like prototypes
Partnering with full-service product development firms accelerates prototyping by providing:
Multidisciplinary teams with electronics, mechanical, firmware, and manufacturing expertise under one roof
Established workflows and design tools enabling rapid iteration
Prototyping infrastructure including PCB fabrication, 3D printing, machining, assembly, and testing capabilities
Manufacturing relationships ensuring prototypes can transition smoothly to production
Experience across diverse products providing pattern recognition about what works, what doesn't, and how to solve common problems
From Prototype to Product
Successful prototyping creates foundation for product development:
Technical validation confirms feasibility, validates performance, and identifies risks requiring mitigation.
Cost models grounded in actual prototypes rather than theoretical estimates inform pricing and business cases.
User feedback from functional prototypes guides feature prioritization, usability refinements, and requirement adjustments.
Manufacturing planning builds on design-for-manufacturing learnings from engineering prototypes.
Investor confidence increases when tangible prototypes demonstrate capability rather than relying on promises.
Team alignment improves when concrete prototypes focus discussions and enable evidence-based decisions.
However, prototypes are not products. Transitioning requires:
- Design refinement for manufacturing at scale
- Quality system implementation
- Regulatory compliance (if applicable)
- Supply chain establishment
- Manufacturing process development
- Testing and quality control procedures
Organizations should plan this transition from the start rather than treating it as afterthought.
Conclusion: Prototyping as Strategic Capability
The ability to rapidly prototype concepts, test assumptions, and iterate toward successful designs represents organizational capability providing competitive advantage. Companies that prototype effectively:
- Validate ideas quickly before large investments
- Learn from failures early when pivoting is still affordable
- Iterate designs based on real data rather than assumptions
- Build confidence in approaches before production commitment
- Demonstrate capability to stakeholders, customers, and investors
Prototyping is both art and science: the art of knowing what to test and how, the science of systematic investigation and learning. Great prototyping requires technical skill, creative problem-solving, discipline to focus on critical questions, and honesty to face negative results.
At Dysol, we've prototyped hundreds of products across diverse categories. We understand how to move from napkin sketches to working prototypes efficiently—what to test when, which approaches enable quick learning, how to balance speed against thoroughness, when to iterate versus when to pivot.
Our multidisciplinary capabilities—electronics, mechanical, firmware, industrial design, manufacturing—enable comprehensive prototyping under one roof without coordination overhead of multiple vendors. Our experience across medical devices, consumer electronics, industrial equipment, drones, IoT systems, and more provides pattern recognition about prototyping approaches that work versus those that waste time.
Every successful product we've developed started as a prototype. Some concepts validated quickly and proceeded smoothly to production. Others required extensive iteration refining approaches. Some pivoted significantly from initial visions. A few revealed themselves as infeasible despite promising concepts—disappointing but valuable learning that prevented larger losses.
Prototyping bridges the gap between ideas and products. It's where visions meet reality, assumptions face testing, and concepts prove themselves—or don't. Getting prototyping right accelerates development, reduces risk, and increases probability of ultimate success.
Ready to transform your idea into working prototype? Contact Dysol to discuss how we can rapidly prototype your concept and validate its potential. Email: danyaal@dysol.ae | www.dysol.ae
SHARE ARTICLE